With so many different gadgets available nowadays, it’s easy to streamline your work and even invent new processes for unique results.
 |
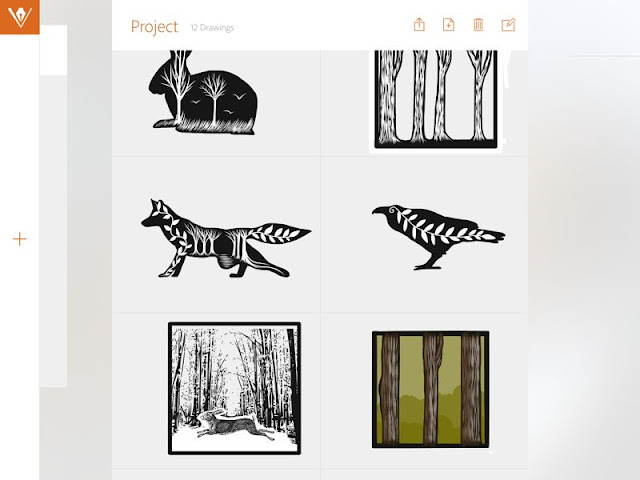
| Adobe Illustrator Draw |
I’m a real gadget girl, I love any kind of technology, it probably comes back to growing up with the first home computers. I’m also a typical lazy Aries, so if there’s a simpler way of doing anything, I will find it!
When I started out with the idea to put drawings on to my beads and pendants, I began with a good old pencil and paper. I love to sketch, but am terrible at painting. So I went with simple black and white images which could be filled with blocks of colour or blends.
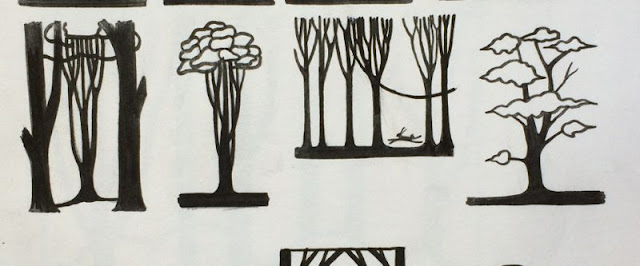 |
| Pen & Paper Sketches |
I tried out many different ways of transferring the images, printing (too impatient… failed terribly) Hand painting (took too long and I don’t have the steadiest hand, also difficult to reproduce) and finally settled on screen printing, which satisfied my need for everything to happen quickly.
Once I had cracked getting the images on to the clay, I wanted to refine the way I got them ready to print. Originally the drawings were made in pencil, traced over in pen, photographed, put on to the computer, edited and finally printed. Again, this took too long.. if I have an idea, I want to be able to do it immediately!
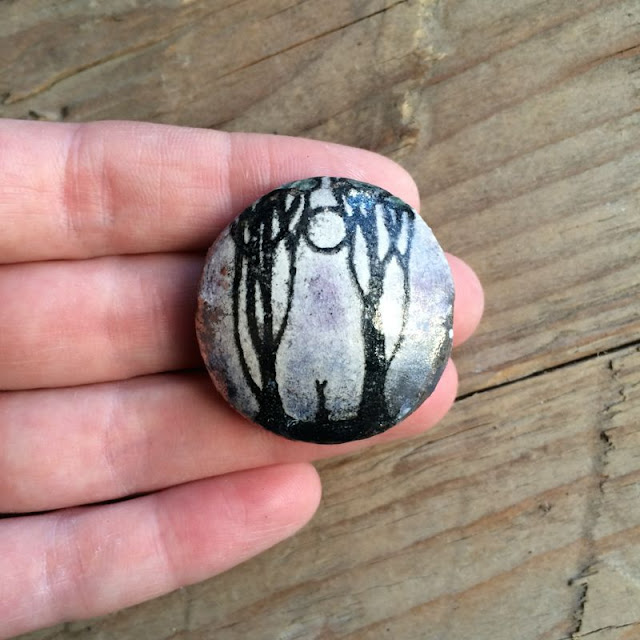 |
| Screen printed bead |
So I turned to my iPad. There are hundreds of drawing apps available for iPads, some paid, and many for free. While I didn’t know if my ideas would work, I decided to start out with the free versions.
(I'm using this technique for screen printing, but I think it would work just as well for metal etching, designing for stencil cutting or anything else you might think of...)
The first app I tried was Adobe Photoshop Sketch.
 |
| Adobe Photoshop Sketch app icon |
A simple sketching program where you get a single sheet of paper to work on with some basic drawing tools.
 |
| Adobe Sketch tools |
The tools include a pencil, fine pen, marker, chisel tip marker, and what looks to be a paint brush.
There is a line tool which brings up a ruler to draw along to get your lines nice and straight, and there is also the option to include images on the page, you can alter their transparency and delete them later on… great for tracing!
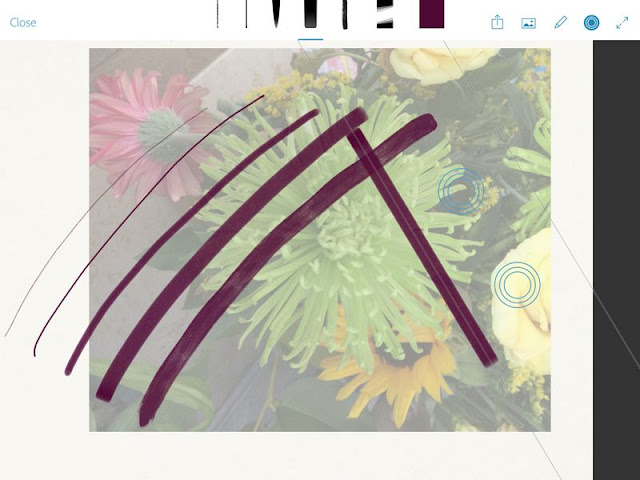 |
| Adobe sketch - importing images and the ruler tool |
In the app, you get groups of sketches which you can add to, it starts you out with 5, so for working on projects, you can keep each batch of drawings grouped together.
Once complete, you can export the drawings by saving to the Adobe Creative Cloud, Sending to photoshop or illustrator, or you can share by email.
I really liked this app, but the finish was rougher than I was looking for, so sticking with Adobe, I installed Adobe Illustrator Draw.
 |
| Adobe Illustrator Draw app icon |
This app seems to be a step up from the sketch one and is designed for creating freeform vectors. This was closer to what I was looking for, as printing from vectors is much sharper than from jpegs, and would produce better transparencies for screenrpinting. The tools available are a pen, a brush pen, an airbrush (I think?) different markers and an eraser.
This app allows you to work in layers which is helpful. You can have either a vector layer or an image layer, so you can import pictures as with the Sketch app.
 |
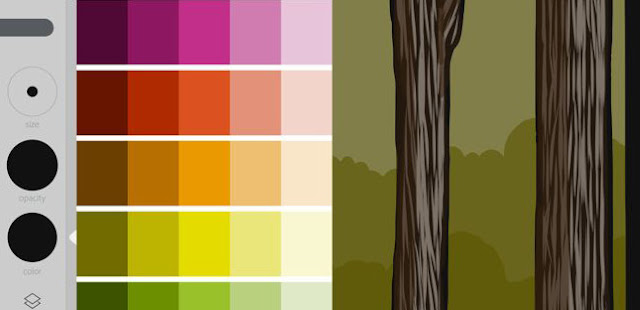
| Project layout |
You can also edit the brushes, altering size, opacity and colour. There are some nifty little colour swatches in the side bar so you can ensure that your drawings are beautiful without having to think about it too much, and colour history is saved so you can go back and pick the same colours again when you’ve forgotten about it later!
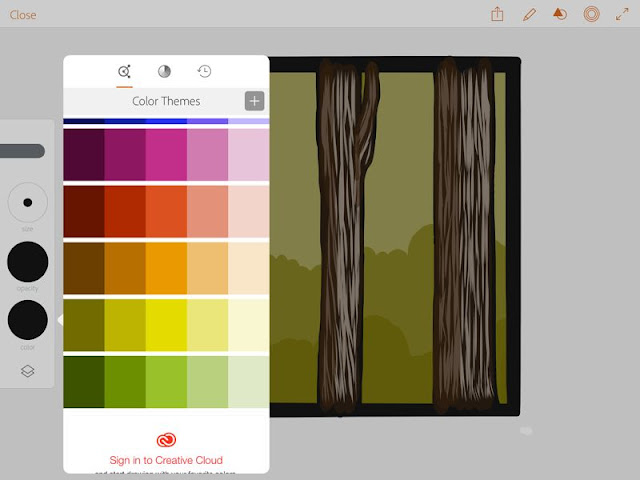 |
| Fancy colour themes |
This app also has the ruler tool, but includes shapes and curves which you can trace around.
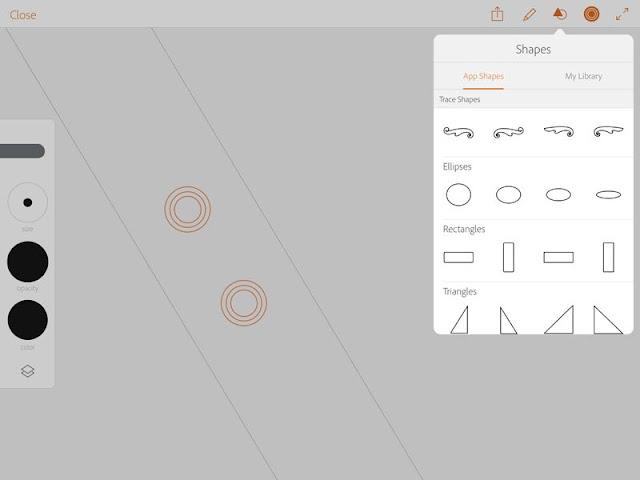 |
| The ruler/shape tool |
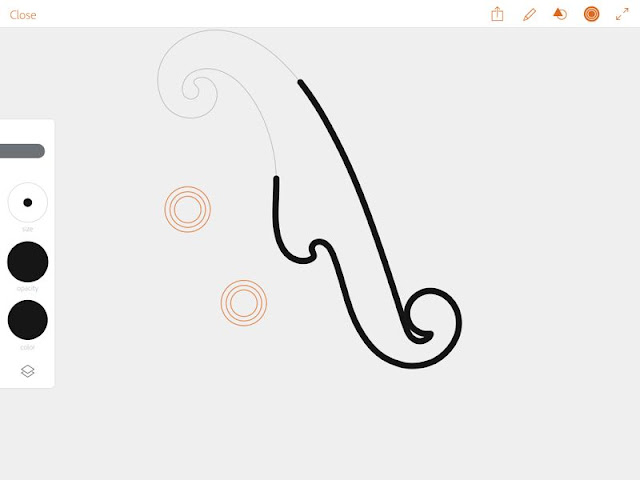 |
| Tracing a French curve |
Exporting is done in the same way as the sketch app.
And finally, for a bit of fun, and while it was free, I installed the Adobe Shape app.
 |
| Adobe Shape app icon |
To use this app, choose your subject, and either import a photo or take one. For this example, I’m taking a pic of a knot on my shed wall.
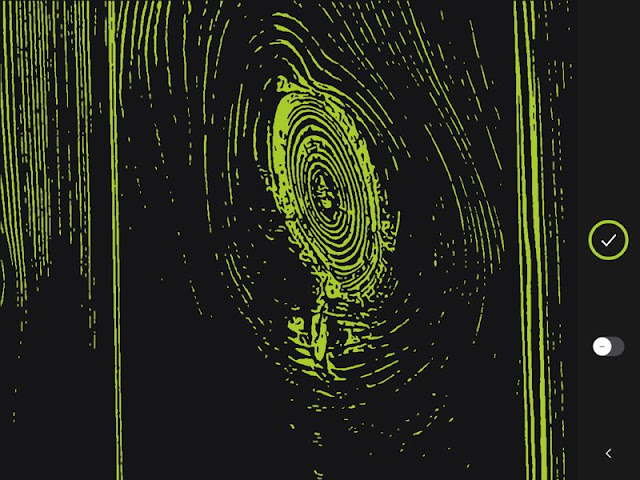 |
| Taking a picture with Adobe Shape |
The app recognises light and dark (you can alter how much) and turns the green part of the image in to a vector file, kind of like a pop art image.
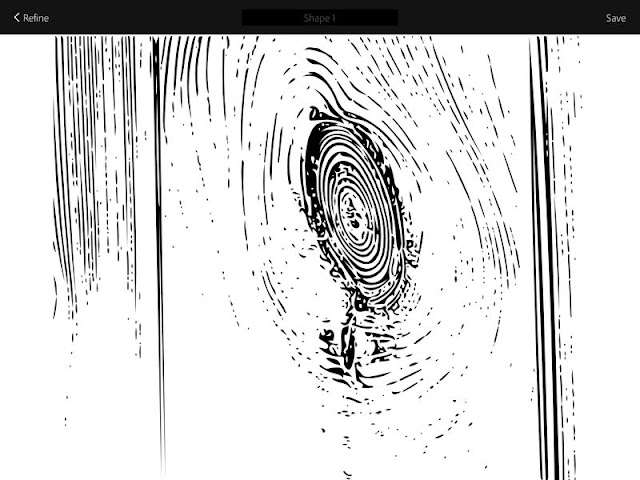 |
| The finished vector |
You can then save this image in to your shape library which can be accessed in Adobe Draw. I had great fun playing around with this one and I’m sure I can use some of the images it produces for future work!
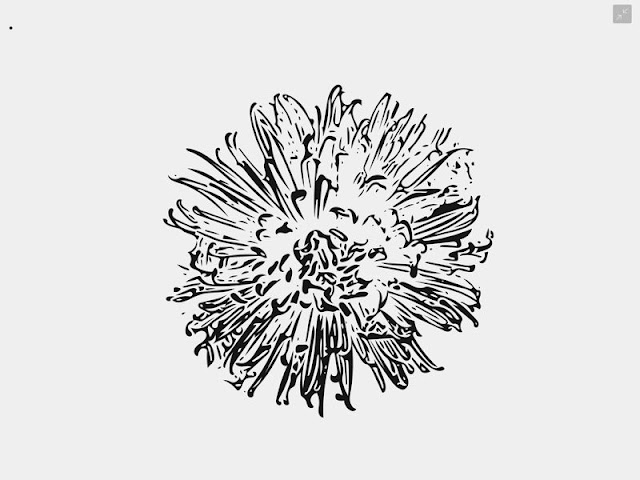 |
| Adobe Shape of a chrysanthemum |
For both drawing apps, I used a bamboo duo stylus. I have the bamboo stylus fine line, but it seemed a bit quirky with it's results... the squidgy tip of the duo definitely helped with getting a neat finish on my artwork. The harder tip of the fine line was a bit erratic. If only someone would invent a small squidgy tipped stylus.. I'd buy that!
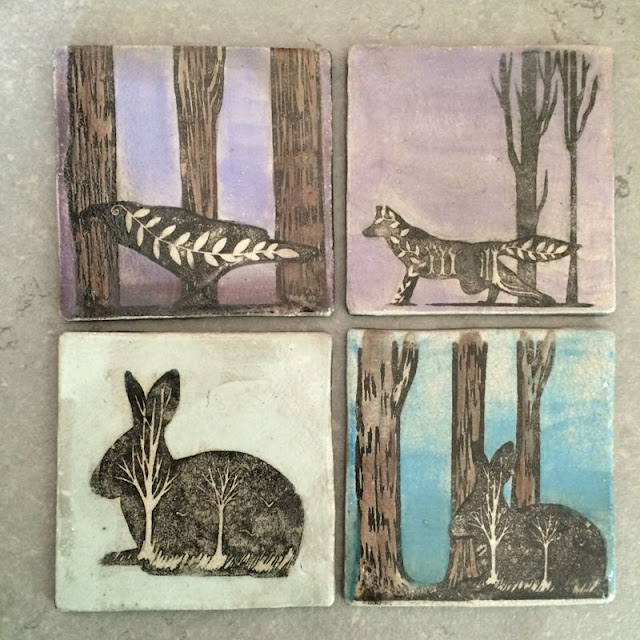 |
| The finished images printed |
Thanks for reading!


Fascinating....no idea how you do it bit fascinating none-the-less!
ReplyDeleteAbsolutely fascinating!
ReplyDeleteWow so much fun!! I had to go download them all. I'll probably never use them but you never know. You're work is inspiring!
ReplyDelete